Using blender as a track editor: Difference between revisions
No edit summary |
No edit summary |
||
| Line 16: | Line 16: | ||
* Build your model as you like, here is mine: | * Build your model as you like, here is mine: | ||
[[Image:Blender-0001.png]] | |||
=== texture === | === texture === | ||
| Line 24: | Line 24: | ||
* Create uv-map: edit mode '''U-key -> project from view (bounded)''', (do this from above: '''NUM-7''') | * Create uv-map: edit mode '''U-key -> project from view (bounded)''', (do this from above: '''NUM-7''') | ||
[[Image:Blender-0002.png]] | |||
* Link uv to a map of roads or racing track. | * Link uv to a map of roads or racing track. | ||
[[Image:Blender-0003.png]] | |||
== Extract road / other areas == | == Extract road / other areas == | ||
| Line 34: | Line 34: | ||
* Make the polygons fit the road. | * Make the polygons fit the road. | ||
[[Image:Blender-0004.png]] | |||
''I just applied this technique for a little portion of my map, since this is only experimental.'' | ''I just applied this technique for a little portion of my map, since this is only experimental.'' | ||
[[Image:Blender-0005.png]] | |||
* Set the "road" polygons to a specific material (not useful???) | * Set the "road" polygons to a specific material (not useful???) | ||
[[Image:Blender-0006.png]] | |||
* Split the mesh into two ('''P-key -> selected'''). | * Split the mesh into two ('''P-key -> selected'''). | ||
[[Image:Blender-0008.png]] | |||
''A translated the road so you can see it's now two distinct meshes.'' | ''A translated the road so you can see it's now two distinct meshes.'' | ||
| Line 60: | Line 60: | ||
** ''Don't forget in the '''Curve Tools1''' panel set NSize to 1.000 so the visual size of handles equals the radius you set.'' | ** ''Don't forget in the '''Curve Tools1''' panel set NSize to 1.000 so the visual size of handles equals the radius you set.'' | ||
[[Image:Blender-0010png]] | |||
* Create groups for the lanes and starting positions. | * Create groups for the lanes and starting positions. | ||
[[Image:Blender-0011.png]] | |||
* All objects in the ''StartPositions'' group are considered (surprise...) as starting positions. | * All objects in the ''StartPositions'' group are considered (surprise...) as starting positions. | ||
Revision as of 08:24, 6 June 2009
Beware, this page is describing a work in progress! All those informations have high probability to be obsolete very soon ;-)
The point of this page is only to explore how track's high level informations can be stored in blender, then exported to a format OpenRacing can load.
I'll describe first a possible way to go from an empty blender screen to a modeled track usable from OpenRacing, featuring:
- cars starting positions
- roads and any other ground materials definitions.
- lanes, i.e. areas authorized for cars to drive on, with their direction (if applicable).
- checkpoints, so we can define a race track as a list of checkpoints.
Create the ground
make the mesh
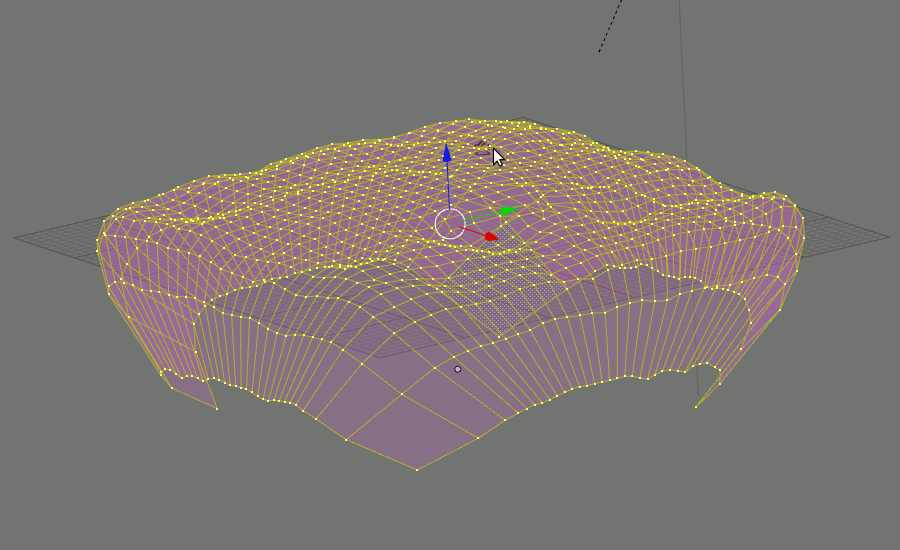
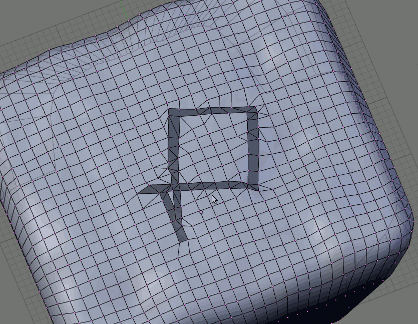
- Build your model as you like, here is mine:
texture
Apply a real-world (or purely virtual) map texture we'll use as a guide.
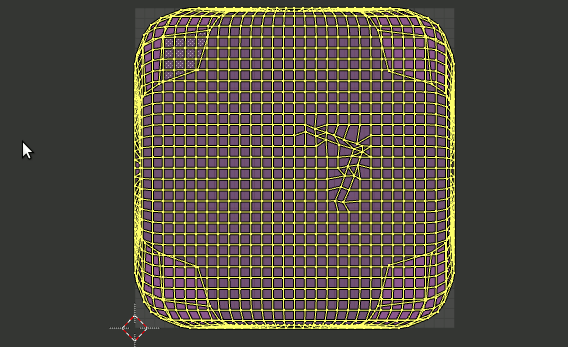
- Create uv-map: edit mode U-key -> project from view (bounded), (do this from above: NUM-7)
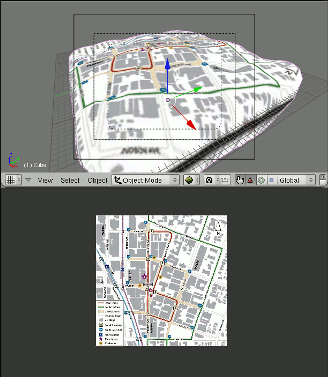
- Link uv to a map of roads or racing track.
Extract road / other areas
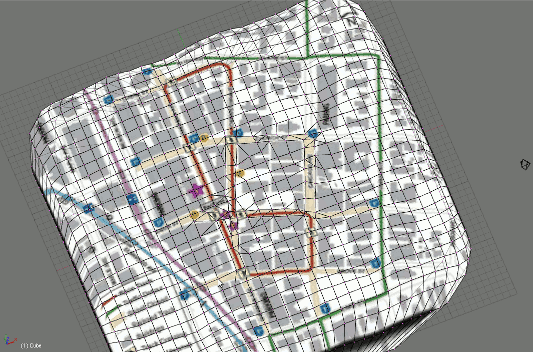
- Make the polygons fit the road.
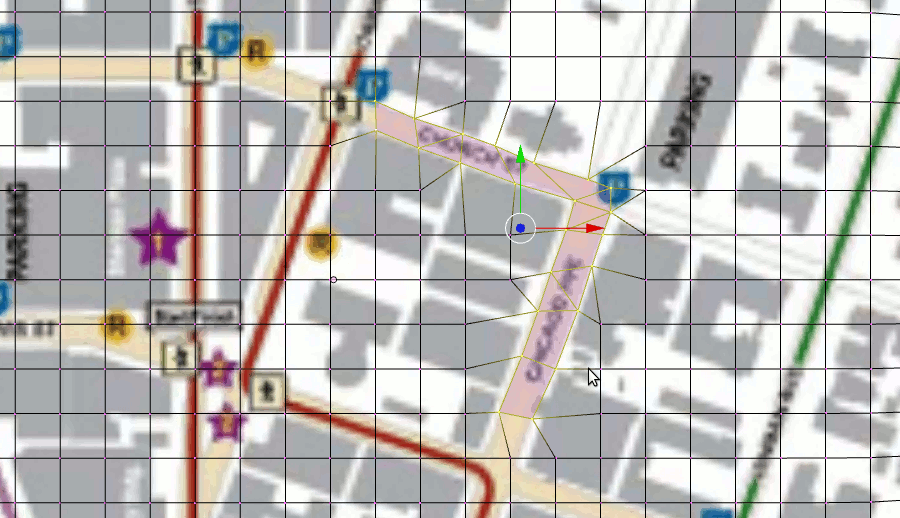 I just applied this technique for a little portion of my map, since this is only experimental.
- Set the "road" polygons to a specific material (not useful???)
- Split the mesh into two (P-key -> selected).
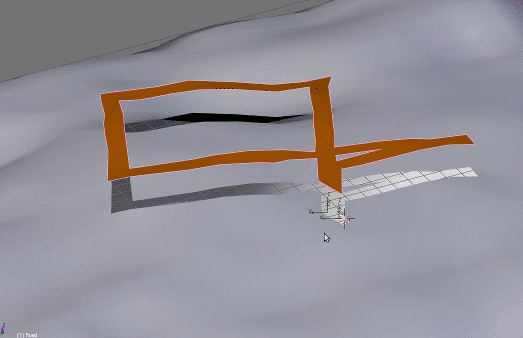 A translated the road so you can see it's now two distinct meshes.
- Thoses steps can be repeated to any other ground materials we like to extract (ice, sand, ...).
Create starting positions and lanes
- Starting positions are Empty objects (Add -> Empty). They have positions and orientations, where:
- X indicates front of the car;
- Y indicates left of the car;
- Z indicates top.
- Lanes are Path objects (Add -> Curve -> Path). The curve have a radius at each control point, you can change it using (W-key -> Set radius).
- Don't forget in the Curve Tools1 panel set NSize to 1.000 so the visual size of handles equals the radius you set.
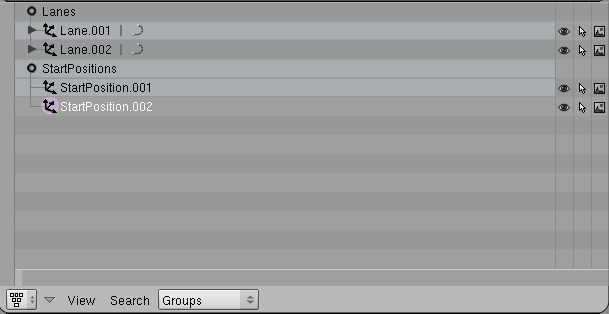
- Create groups for the lanes and starting positions.
- All objects in the StartPositions group are considered (surprise...) as starting positions.
- All objects in the Lanes group are considered as lanes. They have to be curve with radius.
Sometime the orientation of the lane should be ignored (for very narrow streets where cars are allowed to drive in the two directions... or parking.. or such). Add to the lane object the property name "oriented", type "bool", value "false" (this is to be done from the Logic: F4-key panel).
